Are you looking for new and unique ways to promote your brand, products, and services? You might be considering custom embroidery to make your company t-shirts, caps, and workwear stand out. It is one of the best ways to capture the attention of potential clients and consequently generate more leads. Before a logo or design can be embroidered by a machine, however, it must first be prepared by a specialist through the process of digitizing. While consumers don’t necessarily need to understand all the ins and outs, being familiar with the process can help you better communicate your needs to your embroider. We’ll cover the basics below.
Understanding Embroidery Digitizing
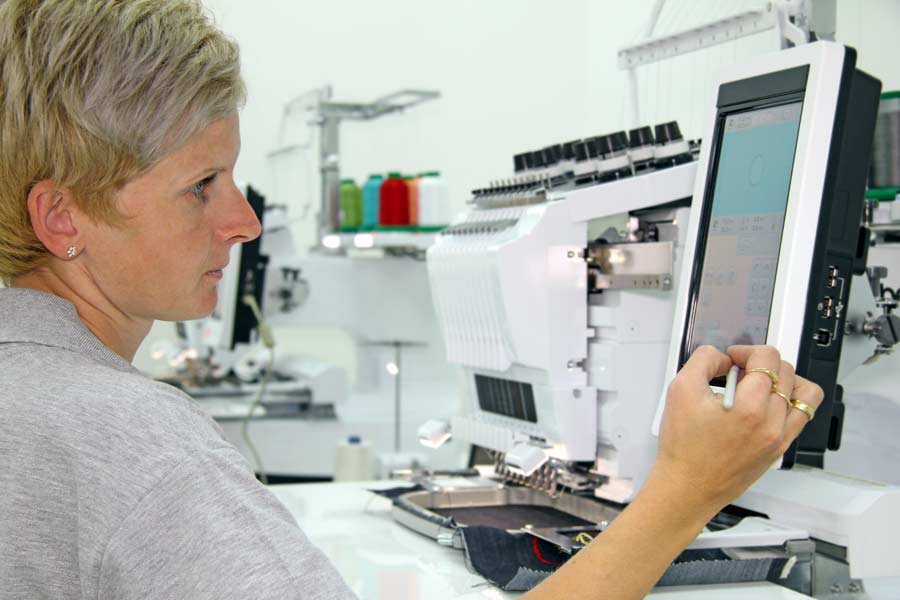
In embroidery digitizing, special software converts pre-existing artwork or graphics into digital files that an embroidery machine understands. Then, the machine applies the stitches to the artwork without a hitch because it follows familiar commands. In essence, a digitizer guides the embroidery machine in sewing patterns or stitch designs. If you need your business logo represented on different accessories and apparel, digitization is necessary to give you high-quality embroidery that will increase brand awareness. So, how exactly does it work?
What Does the Process of Embroidery Digitizing Look Like?
Before the process begins, the most important considerations are the type of fabric in use, the required design, and machine requirements. Once these aspects have been figured out, the next thing is converting artwork into the desired file format with digitizing software. Here are the steps that follow.
1) UPLOADING THE ARTWORK TO THE SOFTWARE
The design file, a logo, for instance, is inserted into the digitizing software. Unwanted blank spaces are cropped out around the image to be embroidered.
2) DETERMINING THE DESIGN SIZE
The desired dimensions are set. This should be the exact size the image appears on the promotional product.
3) SELECTING THE TYPE OF STITCH
Stitches come in different forms that result in different textures and finishes. The three main types of machine embroidery stitches are:
- Straight stitch
- Satin stitch
- Fill stitch
The maximum stitch length must be considered carefully. In this step, a digitizer also reckons with the type of material in addition to its “push and pull.”
4) SETTING THE DIRECTION OF THE STITCH
This step is about instructing the machine on how to complete each stitch. Without proper stitch direction, the design might get unwanted patterns, jumps, trims, or other visual imperfections.
5) DETERMINING THREAD COLORS
The colors are chosen from the color bar. The most important thing here is to match embroidery threads with the colors of the logo.
6) TRANSFERRING THE FILE TO THE MACHINE
The converted file needs to be conveyed to the embroidery machine. A flashcard or USB cable could come in handy, or the operator may transfer the file directly from the device running the digitizing software.
7) GETTING THE MACHINE READY FOR STITCHING
The embroidery machine needs to know what to do with orientation, needles, threads, and patterns to stitch out a logo. Finally, the fabric is positioned in the embroidery frames to create a final product. Once finished, the digitized logo is tested for quality, and the necessary adjustments are made.
Final Word
Well-seasoned digitizers understand how fabrics and designs differ; as such, they know what digitized embroideries would look best on certain promotional items. Through embroidery digitizing, professionals can reproduce a plethora of designs since the technology reduces setbacks associated with the typical embroidery process. The digitizing software creates digital images featuring full control of embroidery’s colors, finishes, and complexity. It is a quick procedure, so your designs will be delivered at the shortest turnaround times. Ultimately, you will be satisfied with the job, and you can expect word-of-mouth referrals and repeat orders.


